Mount new shaft seal
Authorized staff
All work done on the products and the systems in which they are or will be installed may only be performed by qualified and authorised staff who have been trained and instructed in all work. The qualification and expert knowledge of the qualified staff must correspond to the local regulations and guidelines.
Clean shaft and visually check for damage and wear
- Cleaning agent / degreaser
- Rags or cloths
Lubricate shaft
- Refrigeration compressor oil
- Oil drain pan
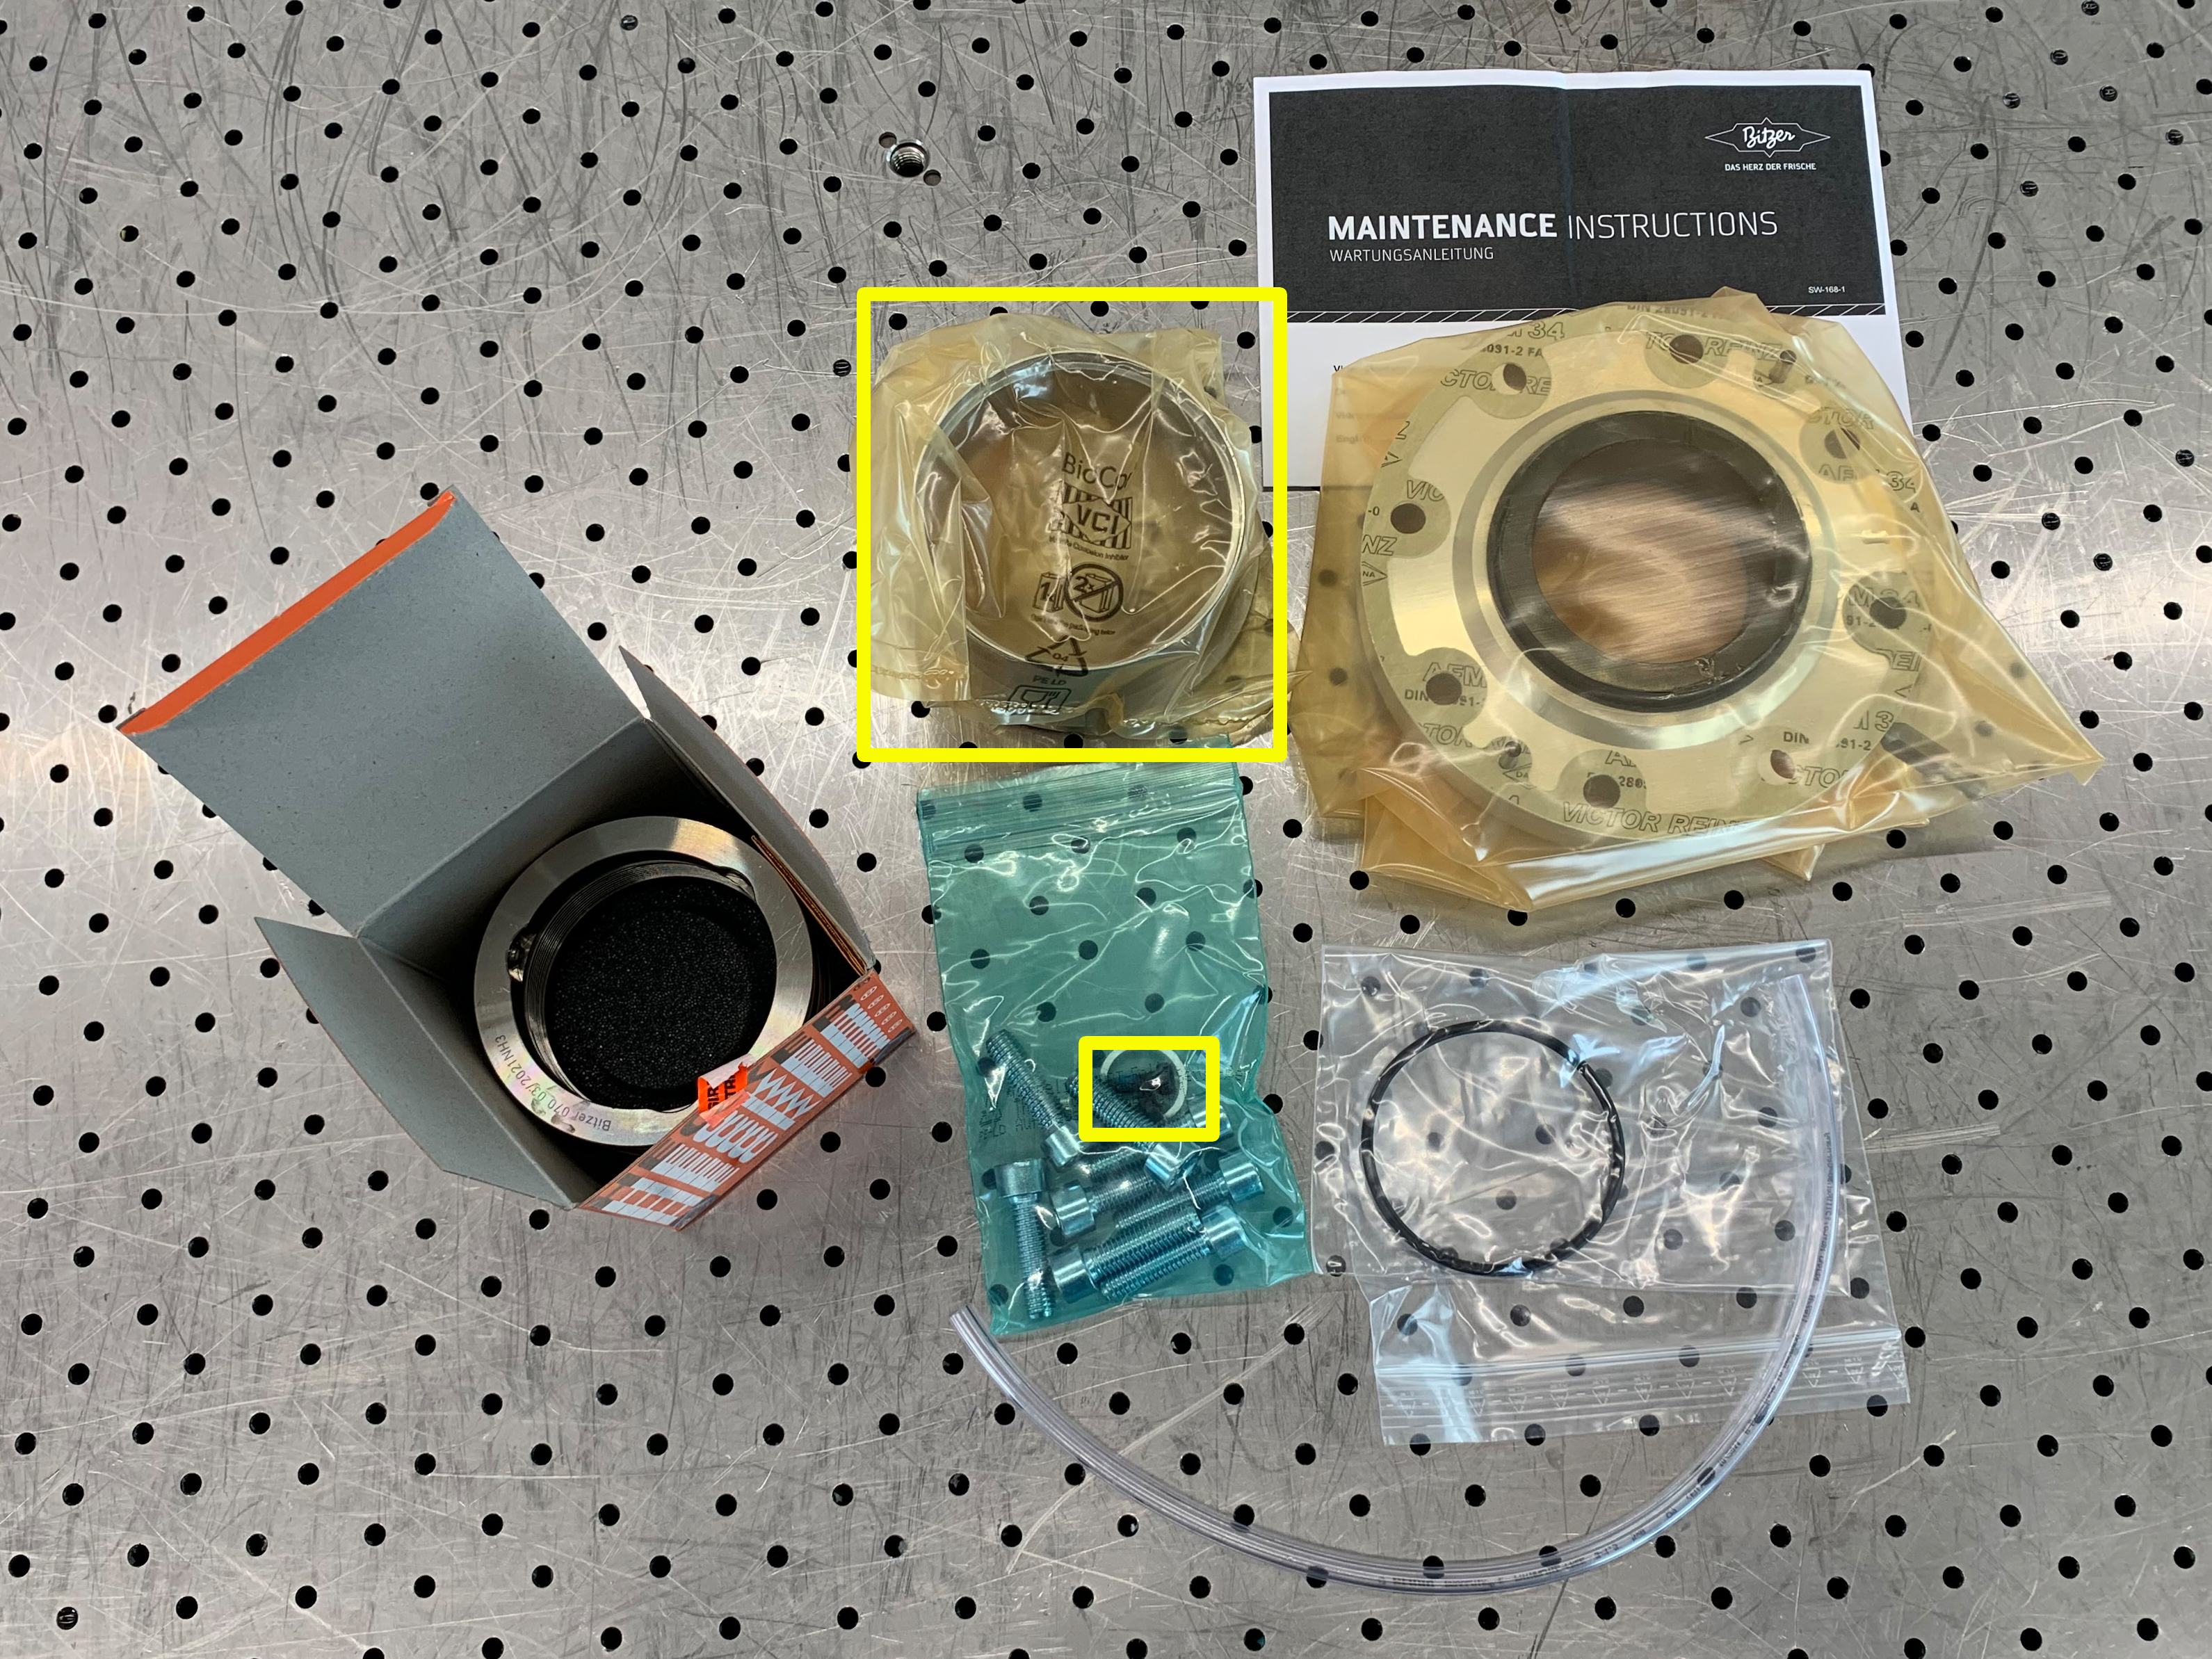
Place new O-ring into new rotating unit
Leave new shaft seal in its package until immediately before mounting! Handle with care!
Sliding surfaces of the new shaft seal can be damaged!
Leave new shaft seal in its package until immediately before mounting! Handle with care!

Lubricate new O-ring at rotating unit
- Refrigeration compressor oil
- Oil drain pan
Check if the 3 stud screws at the new rotating unit are loosened
Slide rotating unit onto shaft
Possible damage to the shaft surface and rotating unit! Do not tilt rotating unit and do not touch or contaminate the sliding face !
At first, slightly tighten stud screws of rotating unit
- 4 mm hexagon spanner
Firmly tighten stud screws of new rotating unit
- 4 mm hexagon spanner
- Recommended tightening torque: 10 Nm
Mount sealing screw with new gasket ring
- 10 mm hexagon spanner
- Torque spanner
- Tightening torque: 80 Nm
- Finally: Attach cover grille

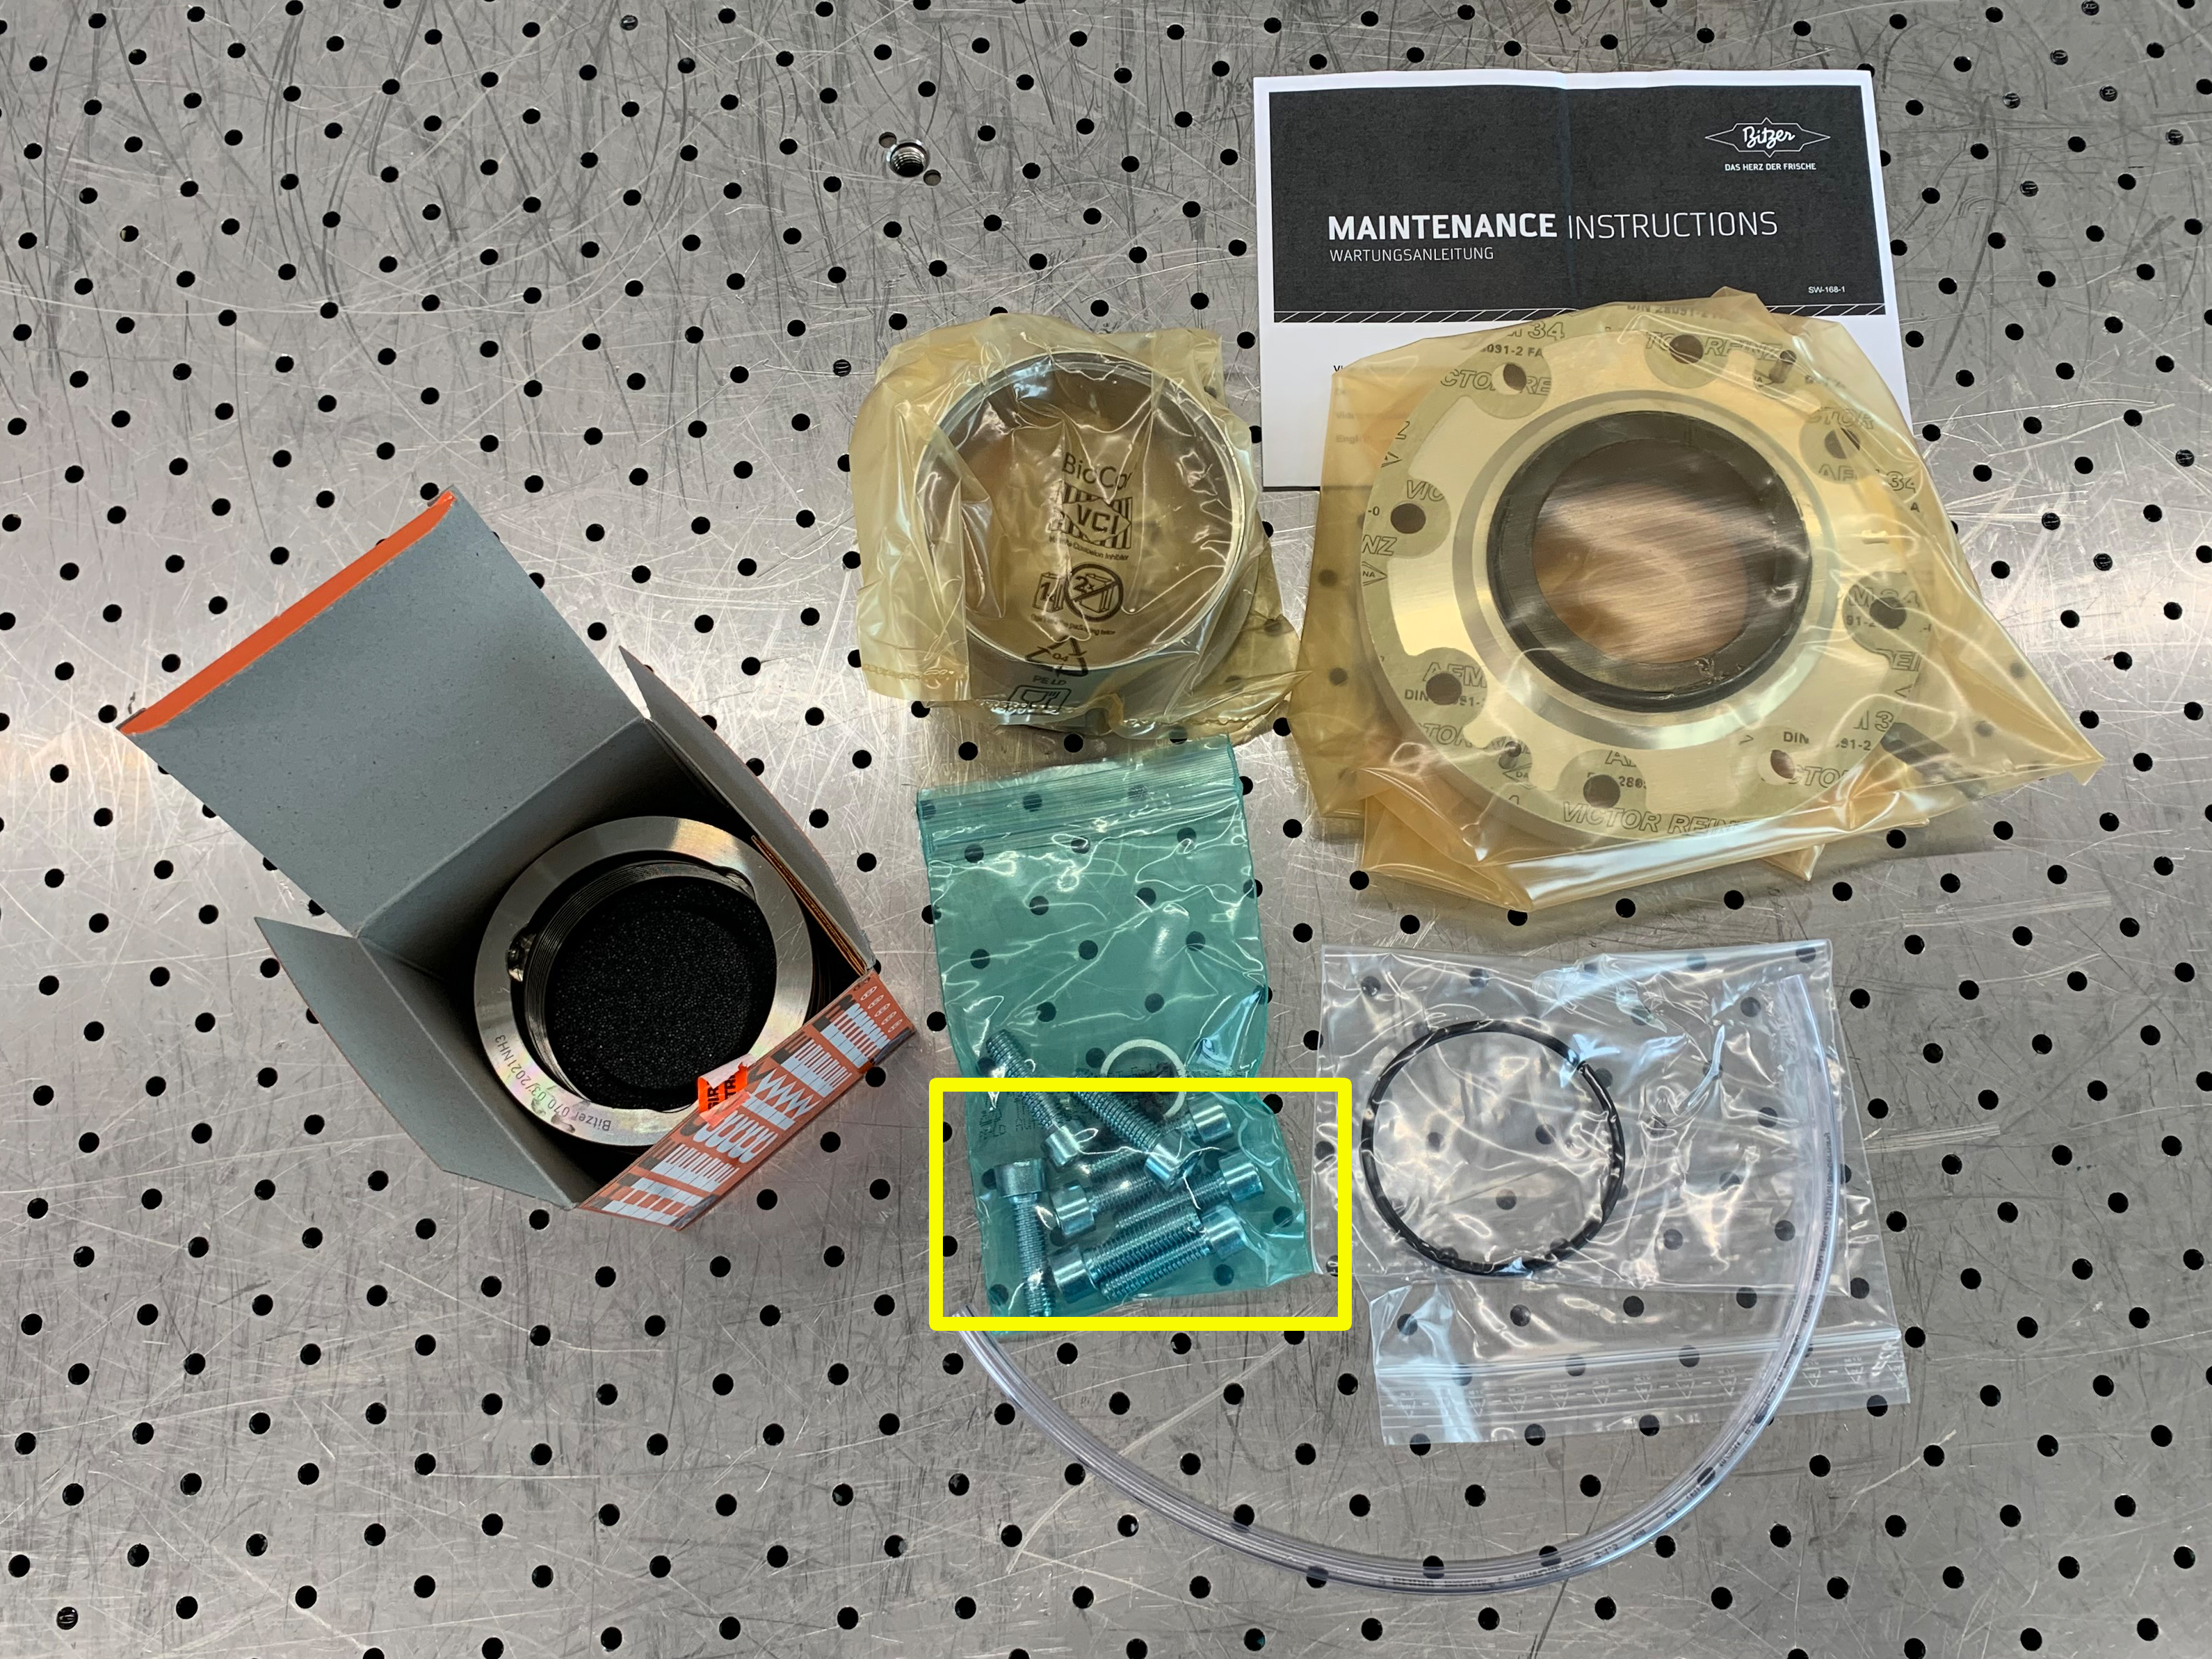
Attach new bushing with new screws
- 5 mm hexagon spanner
Mount new bushing
- 5 mm hexagon spanner
- Torque spanner
- Tightening torque: 10 Nm
Place new gasket on new sealing cover and lubricate
- Refrigeration compressor oil
- Oil drain pan
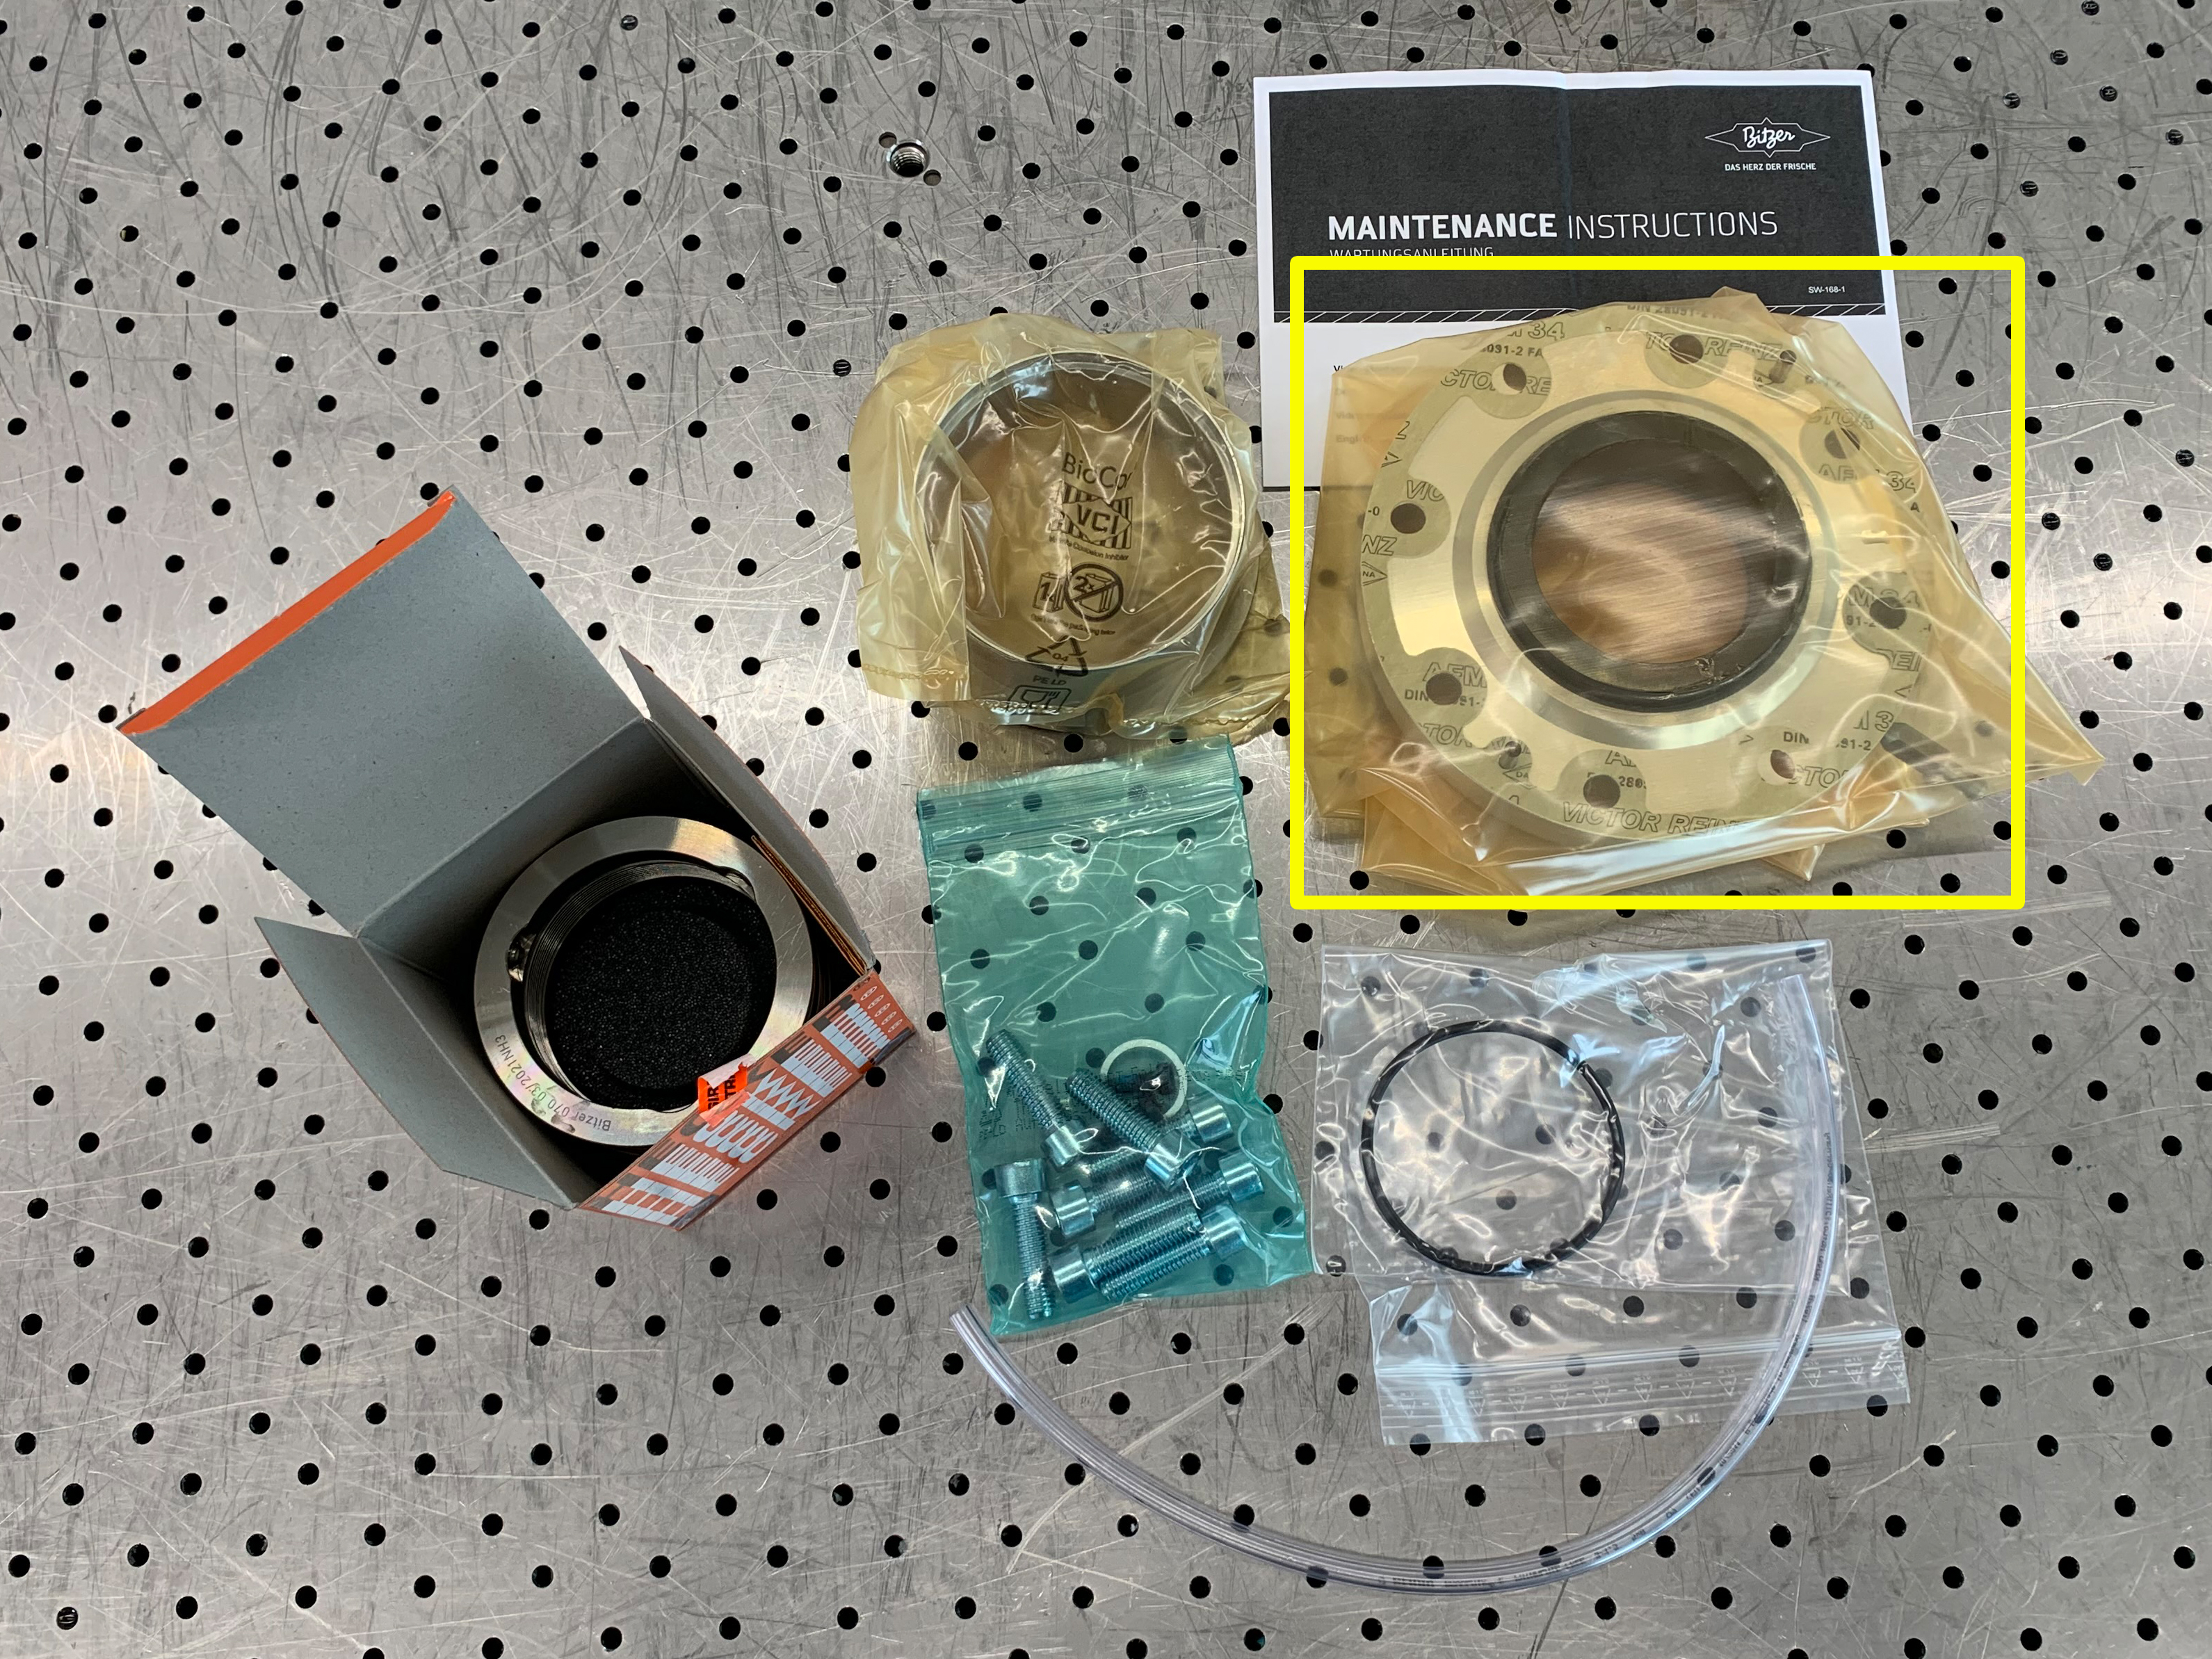
Slide new sealing cover onto shaft
Mount sealing cover with new screws
Risk of damage to the component.
Tighten screws crosswise in at least 2 steps to the prescribed tightening torque.
- Hexagon spanner 8 mm
- Torque spanner
- Tightening torque: 80 Nm
Turn shaft
Attach new oil drain hose
Pressurize compressor and check tightness
- Check refrigerant circuit (assembly) as a whole or in parts for tightness – according to EN 378-2 (or equivalent applicable safety standards).
- Generate excess pressure preferably with nitrogen.
 DANGER
Risk of bursting due to excessive pressure!
The pressure applied during the test must never exceed the maximum permitted values!
Test pressure: 1.1-fold of the maximum allowable pressure (see name plate). Make a distinction between the high-pressure and low-pressure sides!