Refrigerant injection (RI)
Remove sealing plug and clean thread
- Rags and cloths
- 13 mm socket spanner / spanner
Mount the injection nozzle
Wrap the conical thread (1/8 NPTF) with sealing tape to seal it
- 17 mm socket spanner with long socket wrench insert
- Torque spanner
- Tightening torque: 20 Nm
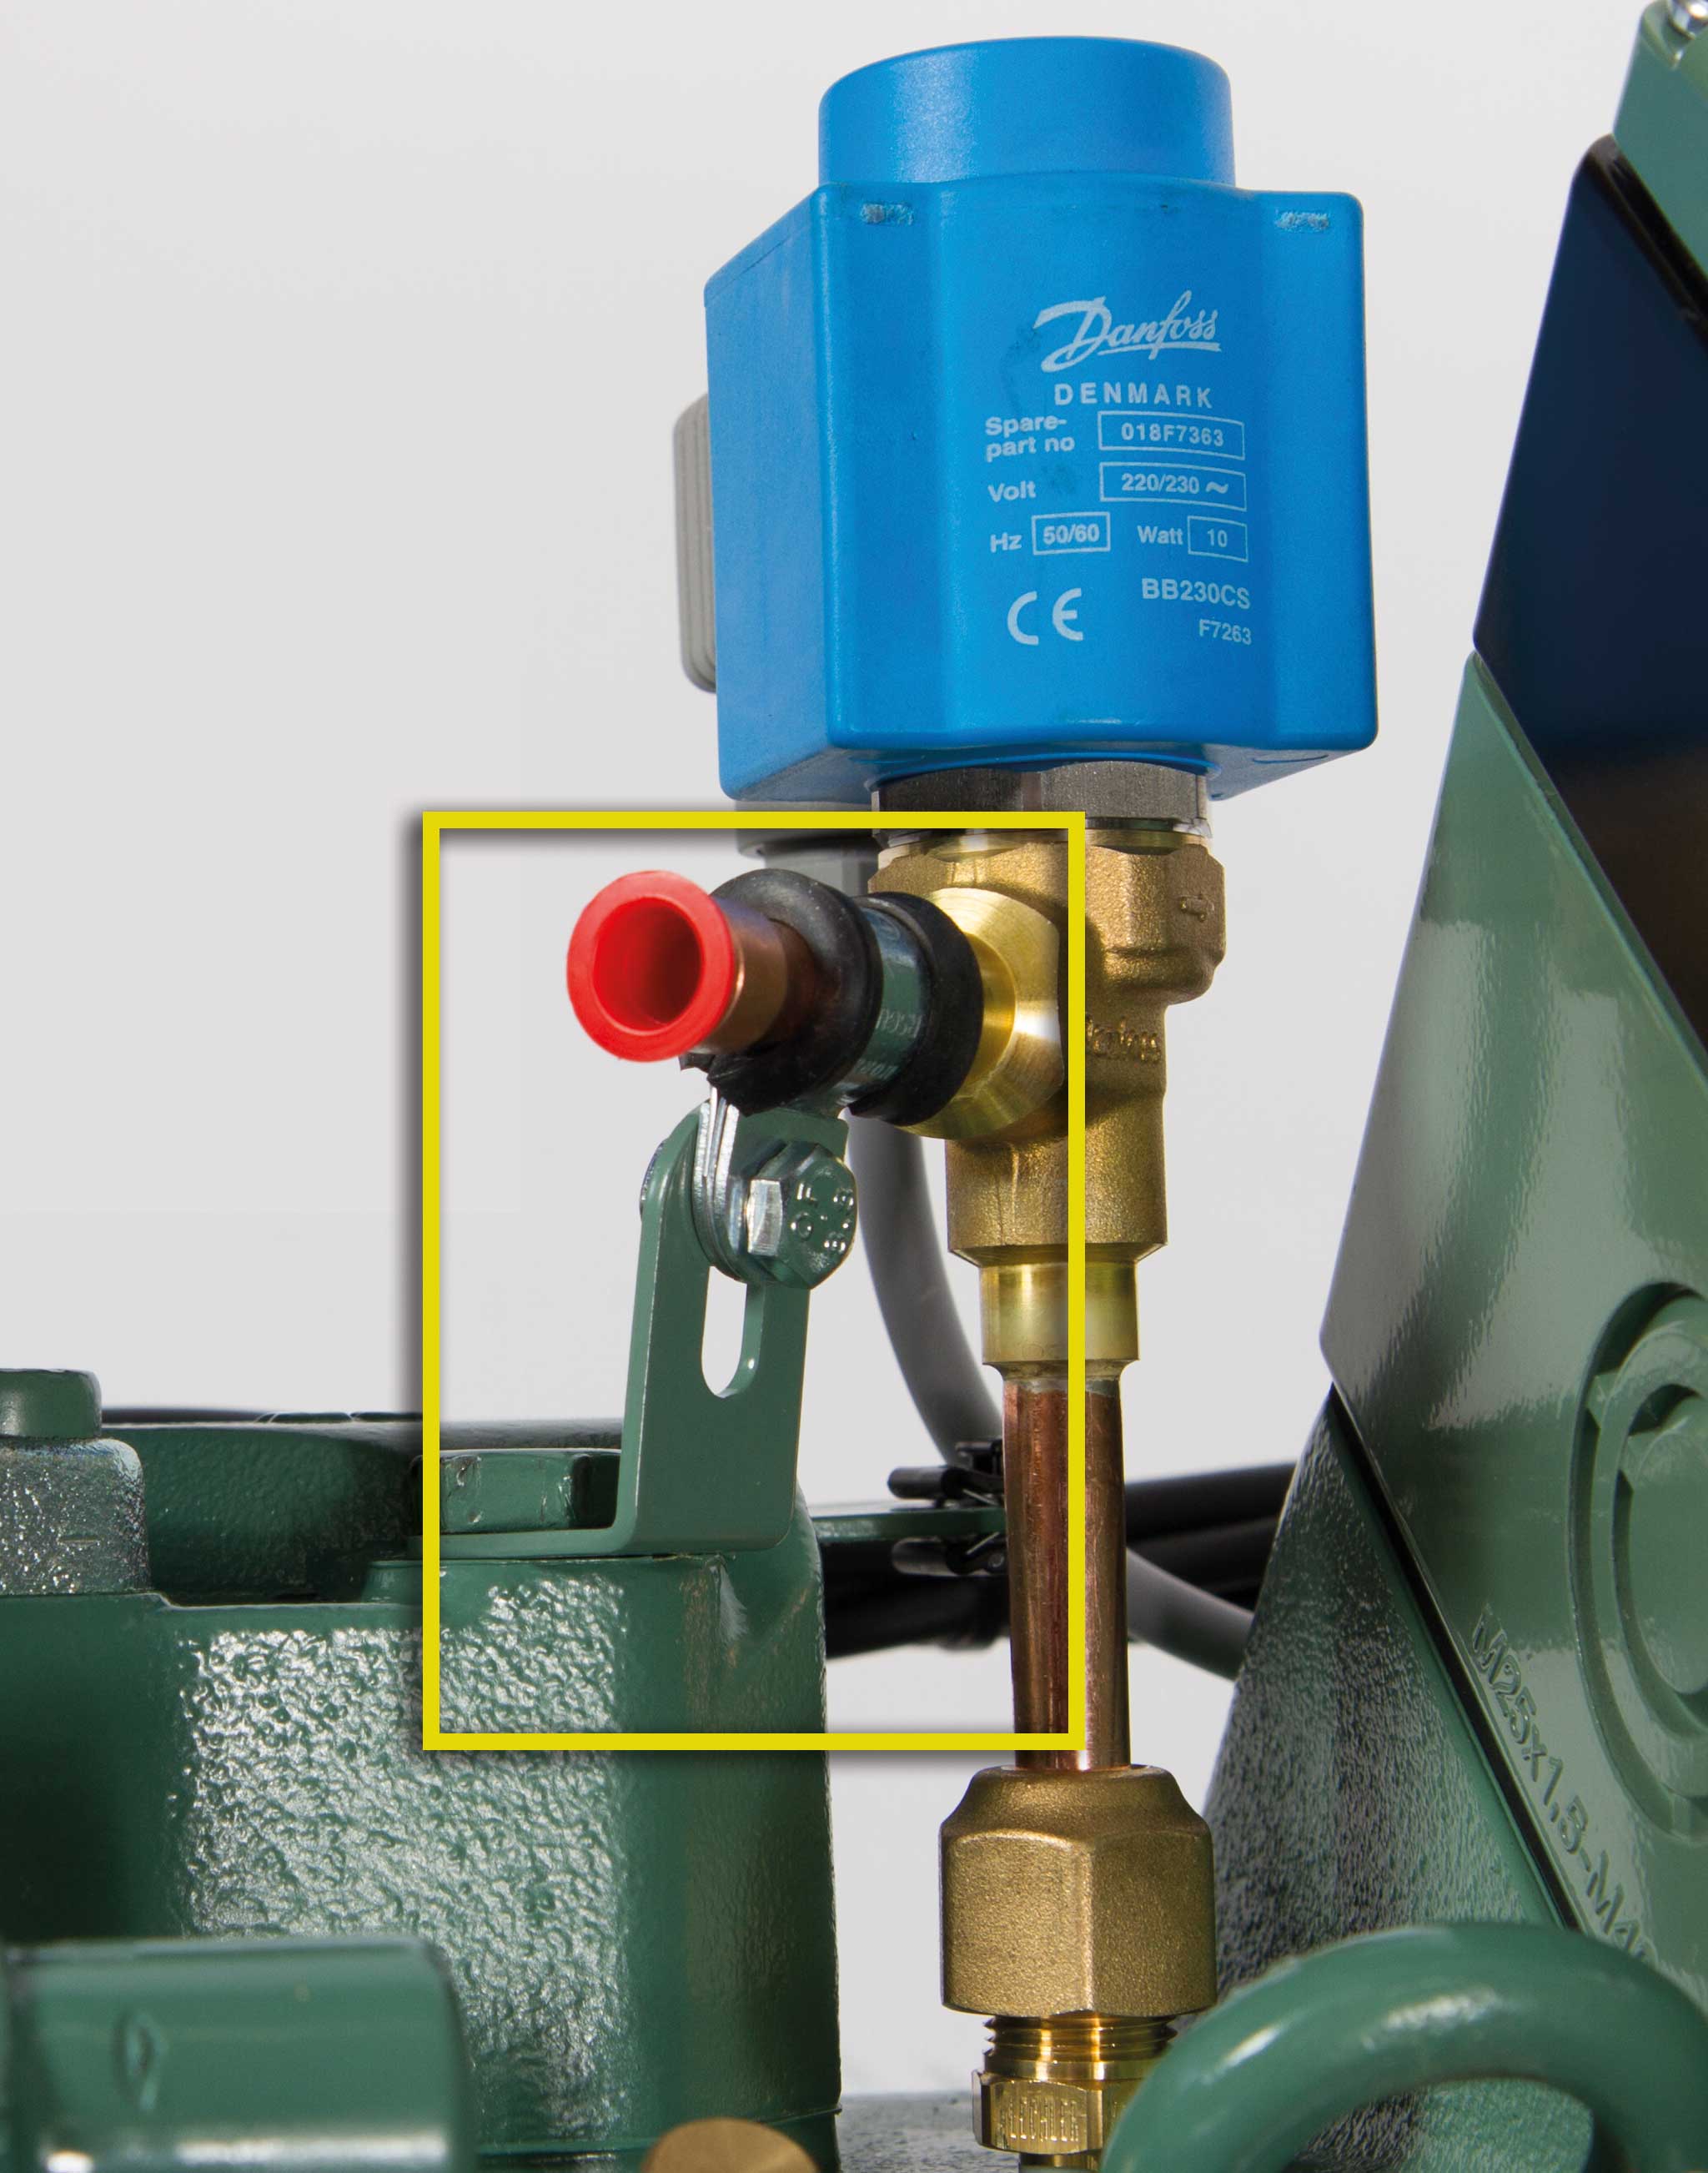
Mounting the injection valve
- Spanner SW22 (counterhold with spanner SW17)
- Torque spanner
- Tightening torque: 35 Nm
- To avoid undefined vibrations and stresses in the connection line, secure the injection valve to the cylinder head by using the fixing plate.
Information
When positioning the fixing plate and the pipe clamp at the cylinder head, the direction of the pipe inlet on the valve must be taken into account.
When positioning the fixing plate and the pipe clamp at the cylinder head, the direction of the pipe inlet on the valve must be taken into account.
- To do this, loosen the corresponding screw at the cylinder head. If necessary, insert a spacer sleeve.
- Reattach the fixing plate with the enclosed extended screw (tightening torque 80 Nm) and tighten the pipe clamp around the liquid line.
- Press the solenoid coil onto the armature and engage.
- Attach electric connector of the device with gasket and screw in place (tightening torque 5 Nm).
Attach seal of electric connector of the device
- Screwdriver / Ratchet wrench with socket spanner for slotted screws
- Torque spanner
- Tightening torque: 5 Nm
Attach the solenoid coil to the armature
Connect cable cores to terminal strip CN20 and screw the protective conductor to the earthing terminal strip
- Slotted screwdriver
Terminal strip CN20, terminal 3: BROWN: "D02"
Terminal strip CN20, terminal 4: BLUE: "N"
- Cross head screwdriver size 2
Connect protective earth conductor to earthing terminal strip
Close the cable glands at the end.